This subwindow is divided into three tabs: Property, Element, Hierarchy.
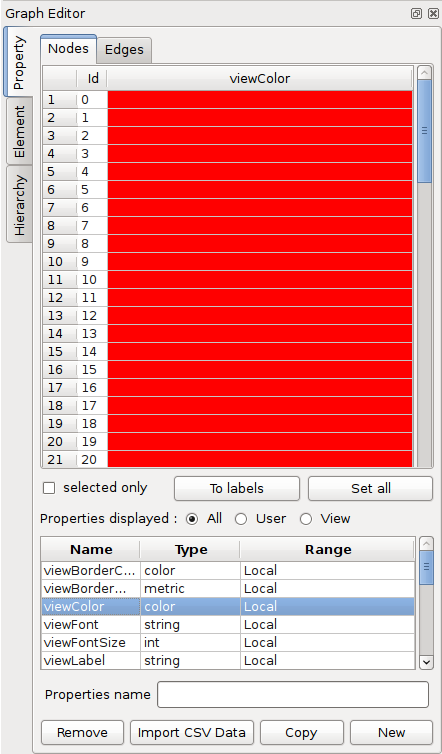
This tab displays the properties of nodes and edges as a table.
(Properties will be covered in Section 2, “Graph properties”.)
This tab can also be acessed by clicking the  tool,
then clicking on a graph element (node or edge).
It is composed of two parts: click on the bottom one to choose which property to display in the top one.
Check selected only to restrict the table to the nodes selected in the node link diagram (i.e. the drawing).

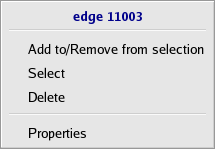
Right-click (Ctrl-click on Mac) on a table row to display this pop-up menu about the corresponding element:

Add to/Remove from selection: change the selection state of the element,Select: the current element replaces the whole selection,Delete: permanently remove the element from the current graph,Properties: show the element properties in the “Element” tab (which we now explain).
Click this button in the toolbar  ,
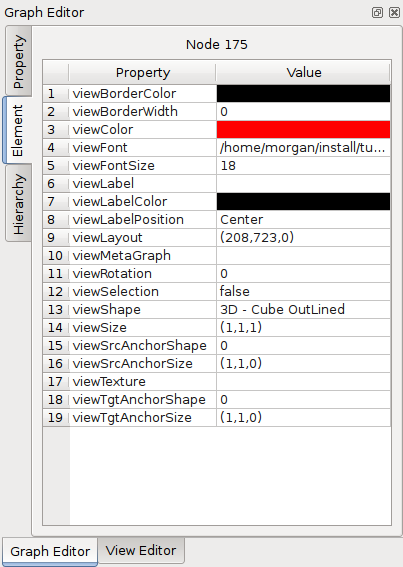
then click an element (node or edge). The element tab opens:

Like before, double-click a cell (in the value column) to update it.
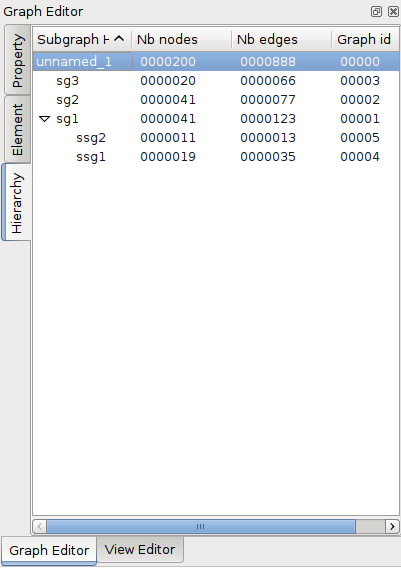
This tab shows the hierarchy, i.e. the inclusions between the subgraphs and groups of the current graph. Hierarchies will be explained in Section 3, “Hierarchy”. A hierarchy is often the result of a clustering algorithm.

Right-click an element to remove, clone or rename it.